
|
|
|
|
|
Double braid mouseline eye splice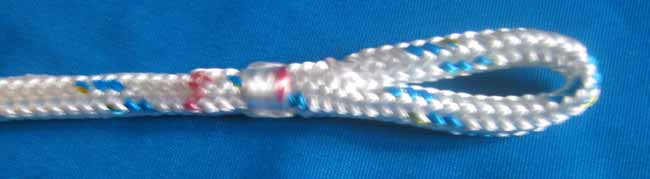 I've no idea what this splice is actually called, but I found it at the ends of my reefing lines, presumably there so that mouse-lines can be easily attached - hence the name I've given it. I've no idea what this splice is actually called, but I found it at the ends of my reefing lines, presumably there so that mouse-lines can be easily attached - hence the name I've given it.Pros and Cons It's main plus point is that it's not any thicker than the rope it's made from so it won't get (too) stuck as you pull it through the pulleys in the boom. It's main weak point is its weakness as the loop of this splice is made up of only the outer coat of the rope (which is what makes it so thin). This significantly weakens the end of the rope, specially as the core doesn't start running in the coat till a little bit back from the splice. The long and the short is that this is not for use in load baring situations of any sort. Before I start, at the time of writing my knowledge of splicing is only one day old so I have absolutely no expertise at all and may not have followed best practice. Please get in touch if you can help make this advice better. What you'll need Anyway, to do this you'll need tubular fids, some tape, a marker pen, a knife, a needle with a big enough eye to feed two strands of the braid through (I used a wool needle), and a lighter. Here we go Make a start by cutting the end of the rope and taping it to stop it from fraying. Mark one fid length (175mm) from the end of the rope, then mark a further fid length from the end. 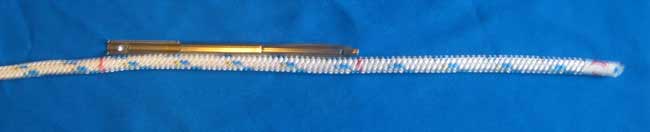 Tie a knot a few fid lengths further up the rope to ensure that the core and coat remain properly aligned with each other: 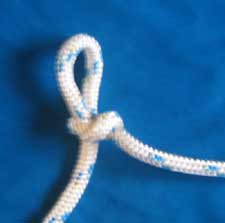 Use a small fid to wiggle the core out of the coat at the second mark you made: 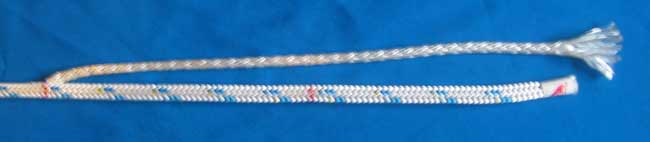 Starting from the knot you made grip the rope firmly and run your hand down to where the core pokes out so you can be sure that the coat and core are properly aligned. Mark the core where it pokes out of the coat. Pull some more of the core out and cut the core just a little bit further up than the mark (towards the knot) you just made so that the end of the core will be at the mark when it's pulled back into the coat. I lightly melted the end of the core to stop it from fraying inside the coat, but I guess this could introduce more weakness through friction of the inside of the coat against the harder melted ends of the core (hence light melting). However considering that the end of the rope is weak anyway, I don't see this as too much of a problem as long as the end isn't flexed too much. Anyway, enough diversion, back tot he plot... Starting from the knot grip the coat firmly and run your hand down the rope and the core should disappear back through the hole it was poking out of and you should be able to feel that it ends underneath the mark you made on the coat. The remaining part of the rope is now made up of only the coat. The length between the end and the first mark is going to be cut away later; except for one strand which will be used to secure the splice. The length between the marks is what will form the eye or loop in the end of the rope. Fold the rope sop that the two marks you have made on the coat line up (A), making sure that the loop isn't twisted. Now you need to put three dots on the rope as in the picture below. First, on the short end count 5 picks towards the loop from the mark and make a dot (B). Make a dot in the corresponding position on the long end (C). Then make another dot 5 picks towards the loop on the long end (D). 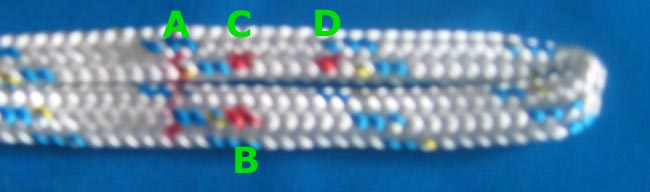 The dot you have made in the short end marks the pair of strands that are going to used to hold the splice together. Ease this pair of strands out of the rope, being careful to only pull it from the bitter end. You will need to remove the tape from the bitter end of the rope first so the pair of strands come out freely. After you've removed the strands, re-tape the end of the rope to stop it from fraying and melt the ends of the two strands you've just pulled out together, but make sure that the melted end is smooth so it does not snag when it's pulled though the rope later.  Now fold the rope over as you did when you marked the dots and load the end up into a suitably sized fid. 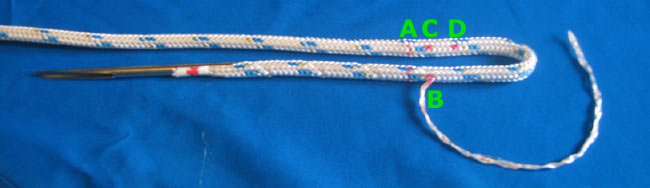 You now need to feed the fid through the coat entering between the plaits at point D and exiting at the mark A. Pull the fid and bitter end through the coat to make the loop. 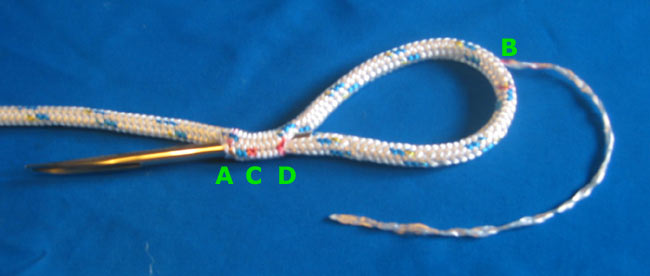 Pull the rope through so that point B is close to the entry point D and thread the pair of strands which are to be used for securing the splice into your needle and insert the needle into the neck of the splice. The needle needs to run from the entry point D and it needs to exit the coat at point C. The needle should run between the coat and the inserted coat. 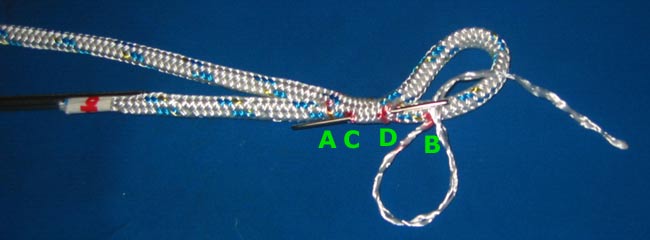 Pull the pair of strands through. 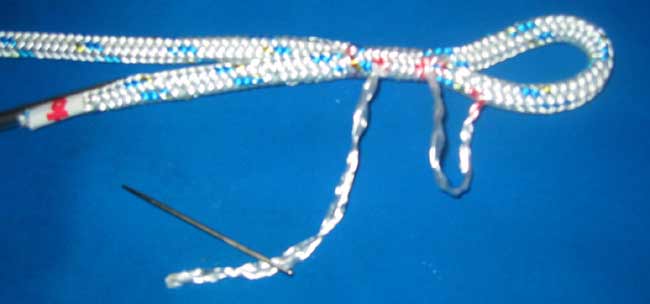 Pull the loop tighter till the first mark you made on the coat at the start comes through the coat. Tape round this so the tape is just on the loop side of the mark 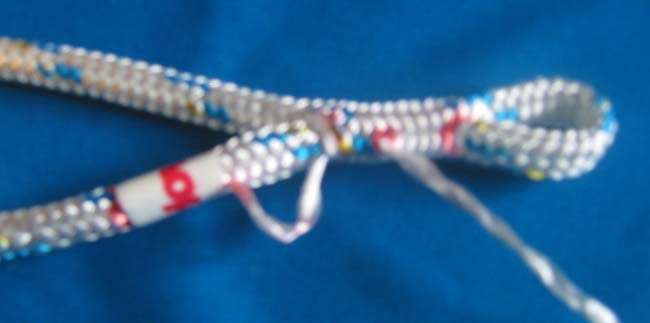 Cut the bitter end of the rope off next to the tape. I next lightly melted the end of the rope to stop it from fraying. The problem I found was that if I didn't do this, the rope frayed and the stitches which were supposed to hold the splice together didn't do their job as they were threaded through frayed ends rather than the plaited coat. As with melting the core, I'm sure this will make the splice weaker due to potential rubbing on the inside of the coat. Any expert advice appreciated! 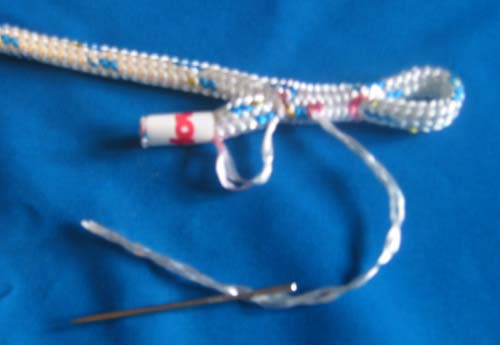 Remove the tape and slowly tease the bitter end back into the splice by pulling very carefully on the loop. The idea is to pull it just far enough that the bitter end drops back into the coat. Make sure everything is smooth and do not pull on the loop any more or you will pull the bitter end out of the splice and you'll have to start again. 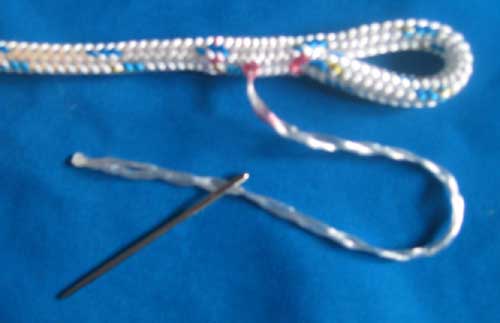 Now's the time to secure the spice with some whipping. Gently pull the pair of strands to remove any slack. Do not pull too tight or you will wrinkle the loop. Make 4 full turns round the coat (away from the loop). Make sure they're tight then thread the end through the middle of the splice so it runs through the outer coat and the piece of coat that's tucked into the splice. 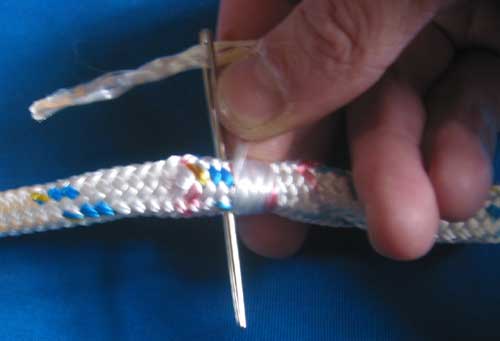 Thread the needle through the coats again on the other side of the turns so it comes out on the opposite side. 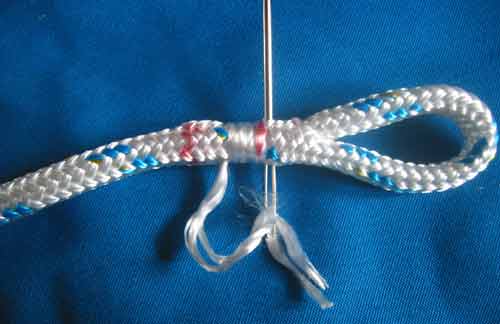 Pull through and tighten. Thread the needle onto the other side of the turns and pass it through the middle of the rope to come out past the splice. 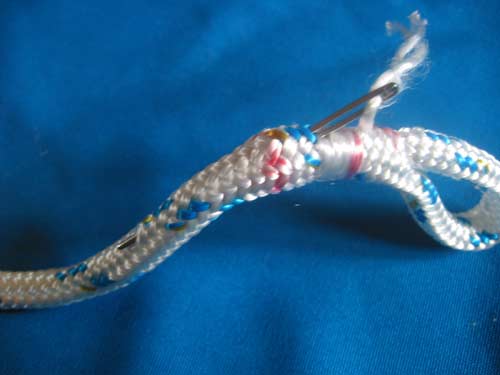 Pull the threads though and pull them tight. Then straighten the rope and hopefully the ends of the threads will be pulled into the rope. If they aren't then pull them out a bit and trim them and re-straighten. And that's it :) |
|
|
|
|||
|
|||